- Published on
Cheapify.io an IaaS platform for ecommerce
- Authors

- Name
- Panagiotis Petridis
Introduction
One of my close friends operates an agency specializing in constructing ecommerce stores for small businesses. One day, during our conversation about their workflow, we realized that using WordPress and WooCommerce is inefficient for their use case, given that they are paying 5-10 EUR per month for a server for a single website that barely receives any traffic.
Data entry proves to be a hassle. Many integrations are either written or need implementation in PHP, and they must continually keep their systems up to date whenever a new security vulnerability emerges. It became evident that a better solution had to exist. Of course, there's Shopify, an incredible platform with comprehensive features, but it's a bit expensive and offers more features than they need. Their customers also find the 32 EUR per month off-putting, particularly when the agency's tech support adds another 20 EUR per month on top of that.
That's why I've built Cheapify.io, an infrastructure-as-a-service solution for ecommerce stores. With Cheapify, small agencies can rapidly create beautiful online stores that are cost-effective to operate and maintain, all while delivering high performance. In this article, I'll provide a swift overview of Cheapify before delving deep into the technical details.

Overview of cheapify.io
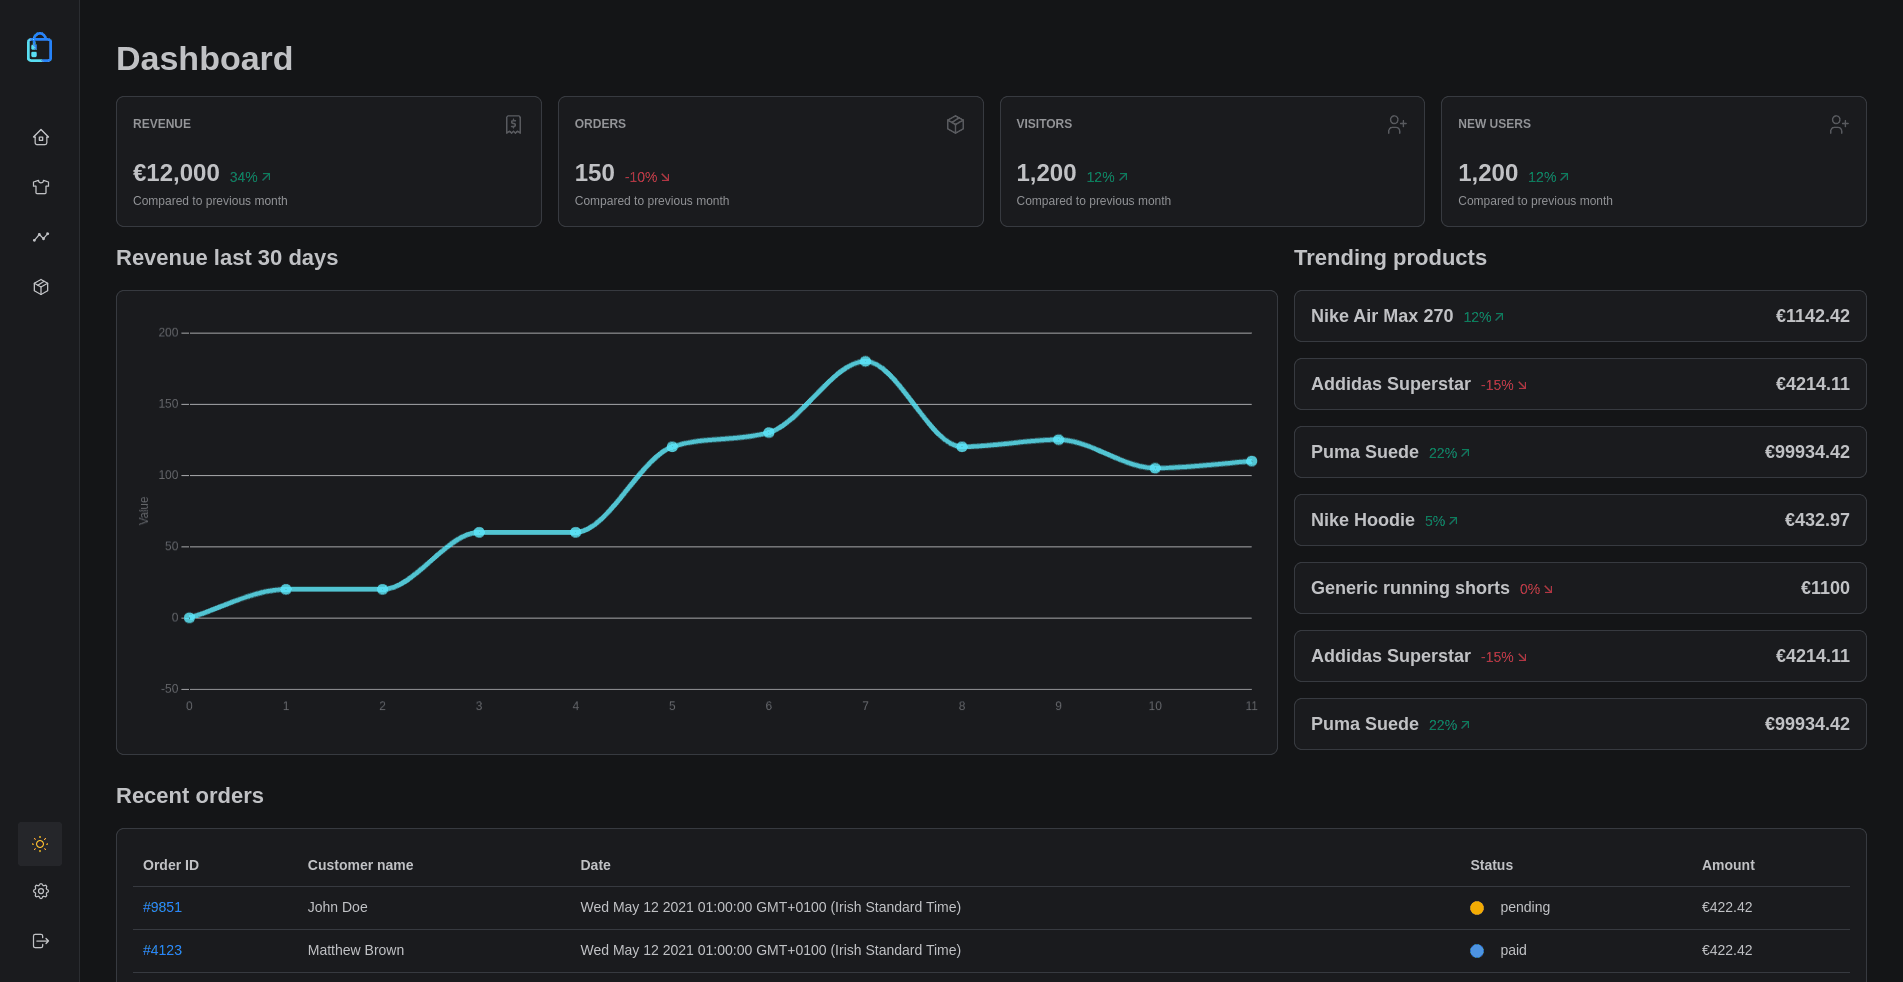
Cheapify aims to solve only a small set of problems for building ecommerce solutions. It is meant to get you 80% of the way there until the business starts turning a higher profit and moves to something more feature-rich, like Shopify. Specifically, it manages inventory, orders, search, analytics, and payments (with a Stripe integration). By keeping the number of features low and providing help docs instead of one-to-one customer support, it is able to keep costs extremely low.
This allows even the smallest agencies to provide competitive pricing and rival big firms. They can spend their time building a beautiful storefront with technologies like React and Vue and have their infrastructure managed inexpensively and scalably by Cheapify.


Technical Deep Dive: Behind the Scenes of cheapify.io
Efficient Data Access with DynamoDB
DynamoDB serves as the authoritative source for all data. If it's persisted, it resides in DynamoDB. I opted for DynamoDB due to its limitless scalability, robust API interface, and cost-effectiveness. Even the serverless option, devoid of provisioned capacity, scales adeptly with each site's traffic volume.
However, working with DynamoDB can prove cumbersome. Selection of partition and sort keys necessitates careful consideration. Querying by a distinct column mandates the use of a secondary index (essentially, an entirely new table). As a result, I've confined the access patterns tailored for DynamoDB. Its exclusive purpose is executing CRUD operations, with entity listing invariably requiring a partition key, and results pagination incorporating the sort key. Complex filtering and search operations have been shifted away from DynamoDB to leverage Elasticsearch, which is optimized for such tasks.
The logical partition of data is executed via the installationId. Upon each incoming request, the primary action involves identifying the installation. Subsequently, all data exclusive to DynamoDB, and pertinent to that installation, is confined to a minuscule partition, allowing swift and cost-effective access. Considering that a single store might encompass a few hundred products, the scale is modest for DynamoDB. Several supplementary global indices are necessary for tasks such as querying installations based on their domain names, but the bulk of partitions utilize installationId as the partition key.
This brings us to the significance of the sort key. Naturally, a key is required to uniquely identify individual records (akin to a UUID). Furthermore, we must establish a mechanism for presenting the most recently created records first—an exceedingly prevalent use case. While an incremental counter could suffice, the nature of a distributed system would necessitate a form of locking mechanism to ensure linear incrementation of the counter. While workarounds exist, a simpler solution is at hand. As elucidated in this insightful article by Shopify, we can leverage ULIDs (Universally Unique Lexicographically Sortable Identifiers) as object identifiers. This enables seamless sorting based on the createdAt timestamp without added complexity.
Optimising search performance with Elasticsearch
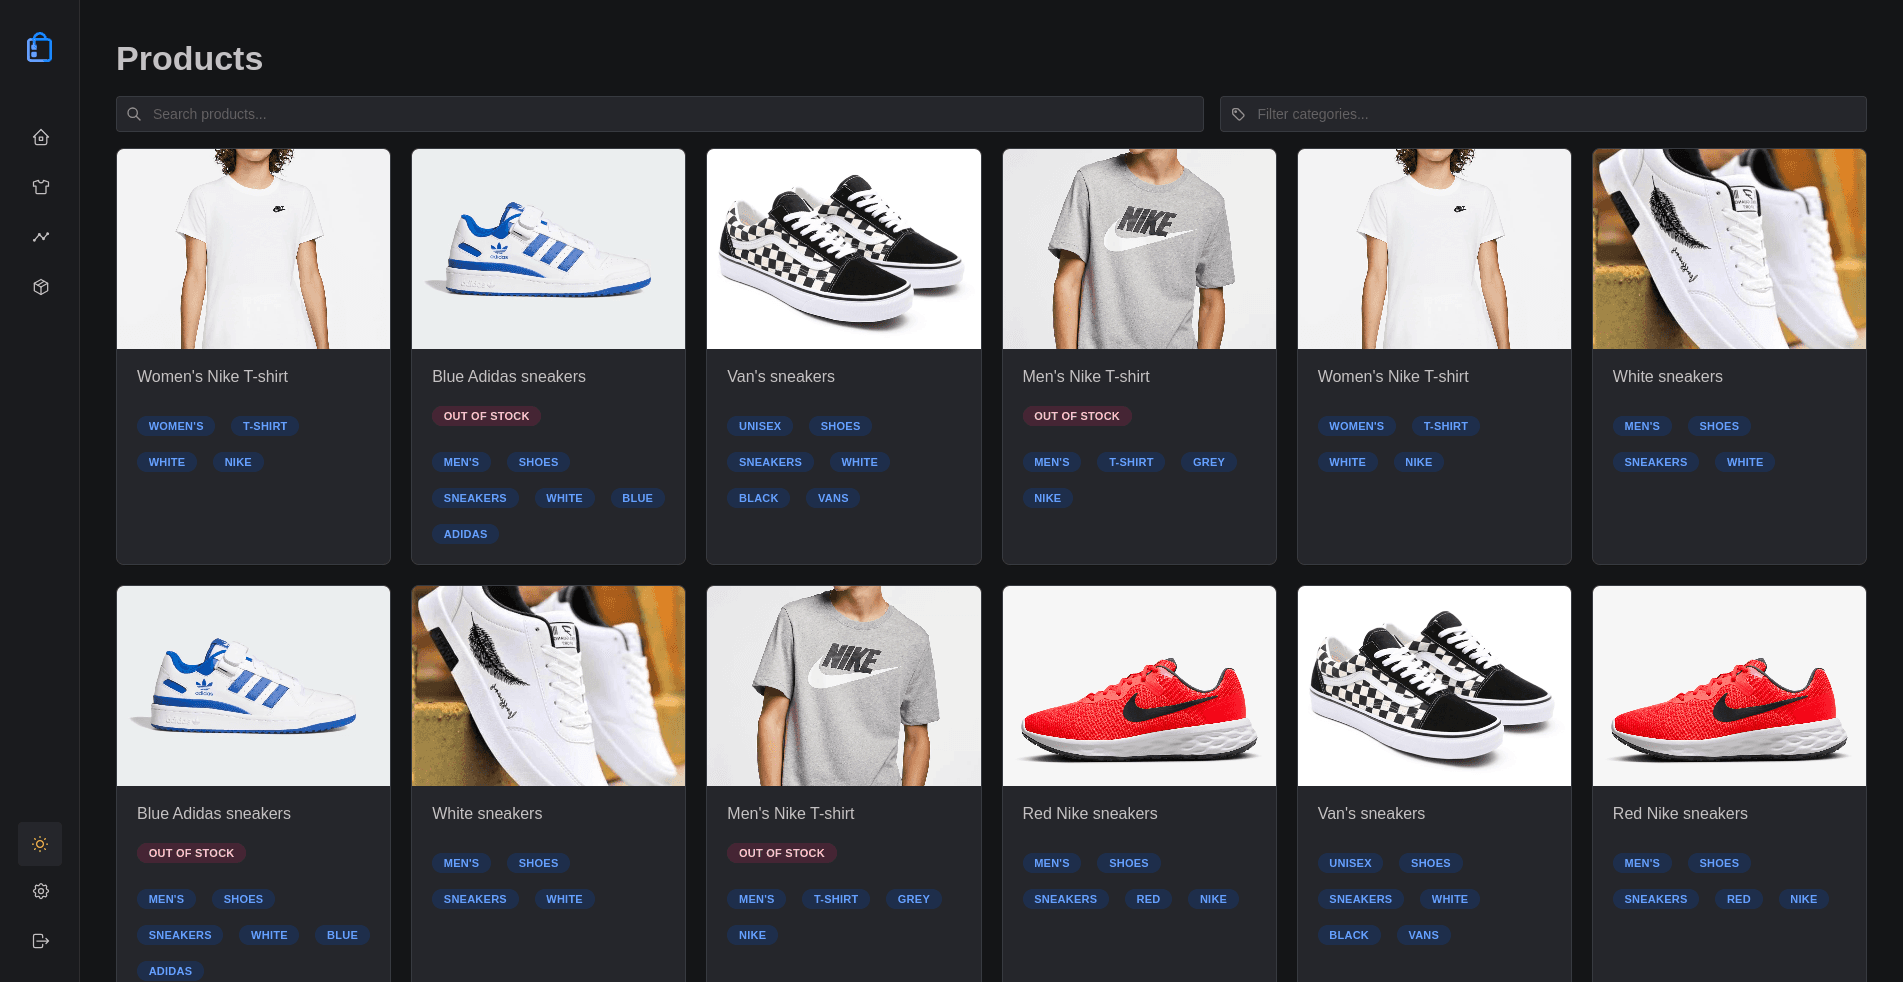
Cheapify's data model is remarkably straightforward. It forgoes categories, product groups, and intricate product relationships. It centers around four key components: products, fields, installations, and orders. There are also a few additional tables utilized for internal purposes. Each product corresponds to a single entry in the products DynamoDB table. However, in order to cater to diverse customer needs, it must also exhibit a high degree of flexibility. This is accomplished by granting users the autonomy to design their unique schemas for individual products. They can create custom fields and associate them with specific products. While this concept holds significant promise in theory, its implementation introduces a set of practical challenges.
Within Elasticsearch, each index has a predefined cap on the number of fields it can accommodate. This presents a challenge, as each installation possesses its own distinct set of fields that do not intersect with the fields of other installations. Consequently, the number of installations that can exist within a single index is constrained. This limitation persists regardless of the volume of data contained within the index; it is rooted in the spatial constraints of available field slots.
To address this issue, I've developed a workaround: Each installation is granted the capacity to incorporate up to 20 fields. As a result, each index can house a maximum of 50 installations. Should an installation necessitate more fields, the option exists to acquire additional slots at an incremental cost. This strategy obviates the need to partition indices based on record count, as each customer is capped at a maximum of 1000 products (additional products can be purchased at an additional cost). This approach promotes efficient scaling and optimal performance.
Moreover, I've harnessed index routing to enhance efficiency. This approach ensures that each request is executed on a single shard, or on a small subset of shards in cases where index data is partitioned. This is an improvement over the alternative approach of querying all shards and subsequently aggregating results.
Finally, in terms of pagination within Elasticsearch results, I've maintained consistency with DynamoDB. Utilizing the next_key approach to retrieve additional results, I refrain from retrieving the total number of records unless absolutely necessary—only when additional records are available or when the querying process is completed. While this design choice might forgo the convenience of displaying the total number of pages, it yields substantial improvements in performance.
Analytics using Elasticsearch
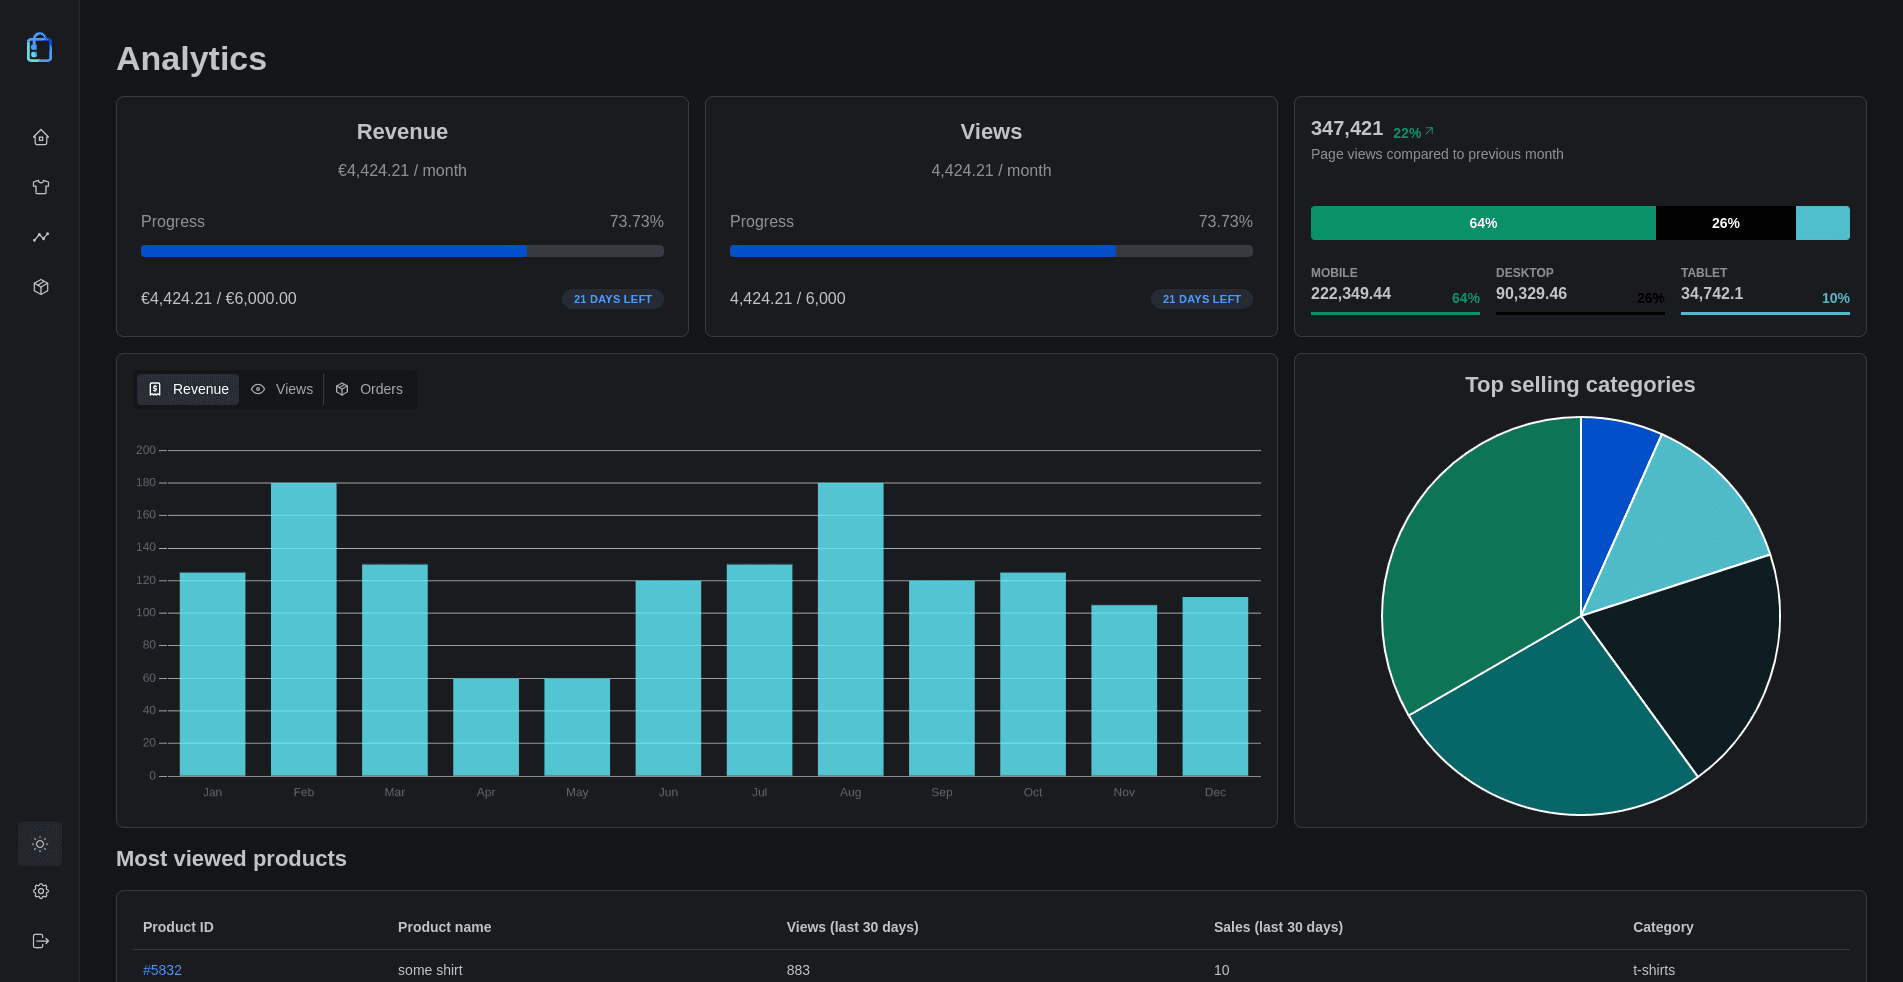
All reports and analytics are generated using order data. Each order encompasses a plethora of information, including, but not limited to, purchased products, individual product prices, discounts, location (derived from billing addresses), and date of purchase. Because order fields remain consistent, I can optimally leverage indices within Elasticsearch. This time around, although installationId is still utilized for routing purposes, the indices are segmented based on date. Data is retained for a 12-month duration, and by segmenting the indices according to date ranges and utilizing an alias for access, the assurance of containing only a limited number of records is upheld.
As mentioned previously, reliance on the count operation within Elasticsearch has been minimized. To align with this approach, most reports utilize composite aggregations to navigate through bucket results in a paginated manner. While composite aggregations are computationally intensive, they still prove more efficient than using a bucket for each distinct section. This approach also fosters API consistency. For instance, if the objective is to extract the revenue of the last three months, the following query suffices:
curl your-installation.cheapify.io/api/v1/analytics/revenue/monthly?pageSize=3
With this groundwork, we can establish fundamental reporting structures, paving the way to craft diverse reports through the formulation of tailored queries. Elasticsearch streamlines the process of data analysis and efficient data retrieval, facilitating seamless display within dashboards.
Webhooks with Kafka streams
A pivotal aspect of the application is the events system. These events are employed to trigger webhooks, thereby notifying users of data changes. A notable use case is exemplified by the scenario where an item goes out of stock. Websites utilizing ISR or SSG need to regenerate pages for items that have gone out of stock, possibly necessitating their removal. To facilitate this, a webhook can be utilized to trigger when a product is updated and its stock value drops to 0.
For the implementation of webhooks and setting up event processing for prospective use, Kafka is employed. Admittedly, this might seem like an excessive choice, as alternatives like AWS SNS or even Redis pub/sub could suffice. However, I opted for Kafka due to the appealing Kafka offering by Upstash, which proves to be both cost-effective and user-friendly. Additionally, I intend to eventually transition towards direct event streaming from DynamoDB to Kafka.
Currently, I'm employing a single partition for each topic, as this adequately handles the present traffic load. However, this setup can be effortlessly scaled in the future. Since each tenant's data is isolated, installations could be grouped into distinct partitions to enhance throughput.
The events themselves are dispatched by the API service, which triggers them upon completion of an action. At present, this same service concurrently handles the background indexing of documents for Elasticsearch. Nonetheless, this functionality can easily be decoupled into a separate deployment, with dedicated indexing services listening for events and updating documents within Elasticsearch.
Simplified Documentation Generation
For any IaaS product to thrive, robust documentation is a must, particularly given its developer-focused target audience. To accomplish this, I've used Kommentaar to generate a Swagger/OpenAPI specification, which I subsequently parse using a script to create MDX pages. These MDX pages are then transformed into documentation through NextJS.
The initial step entails generating the Swagger/OpenAPI specification. Kommentaar facilitates this by enabling the generation of comments on structs and controllers. It's user-friendly and effective for most cases, although I've found it relatively more challenging to work with when dealing with intricate specifications. Alternatively, I could initiate the process from a specification and generate the controllers or explore other libraries to craft the specification.
Once the specification is generated, the conversion to MDX pages becomes pivotal. This approach might differ from your prior experiences. Simply presenting the API specification to users in a refined format doesn't always suffice for comprehensive understanding of its functionality. There are instances where a more intricate presentation is necessary, perhaps incorporating graphs, videos, or multiple code samples. To address this, I've implemented templates that empower me to craft comprehensive documentation, utilizing a pattern for substituting sections of the specification. Here's an example:
Some use cases of when to use fields...

%paths["/fields/{id}"]["get"]%

%paths["/fields"]["post"]%

## Models

%definitions["model.Field"]%

%definitions["model.NewField"]%
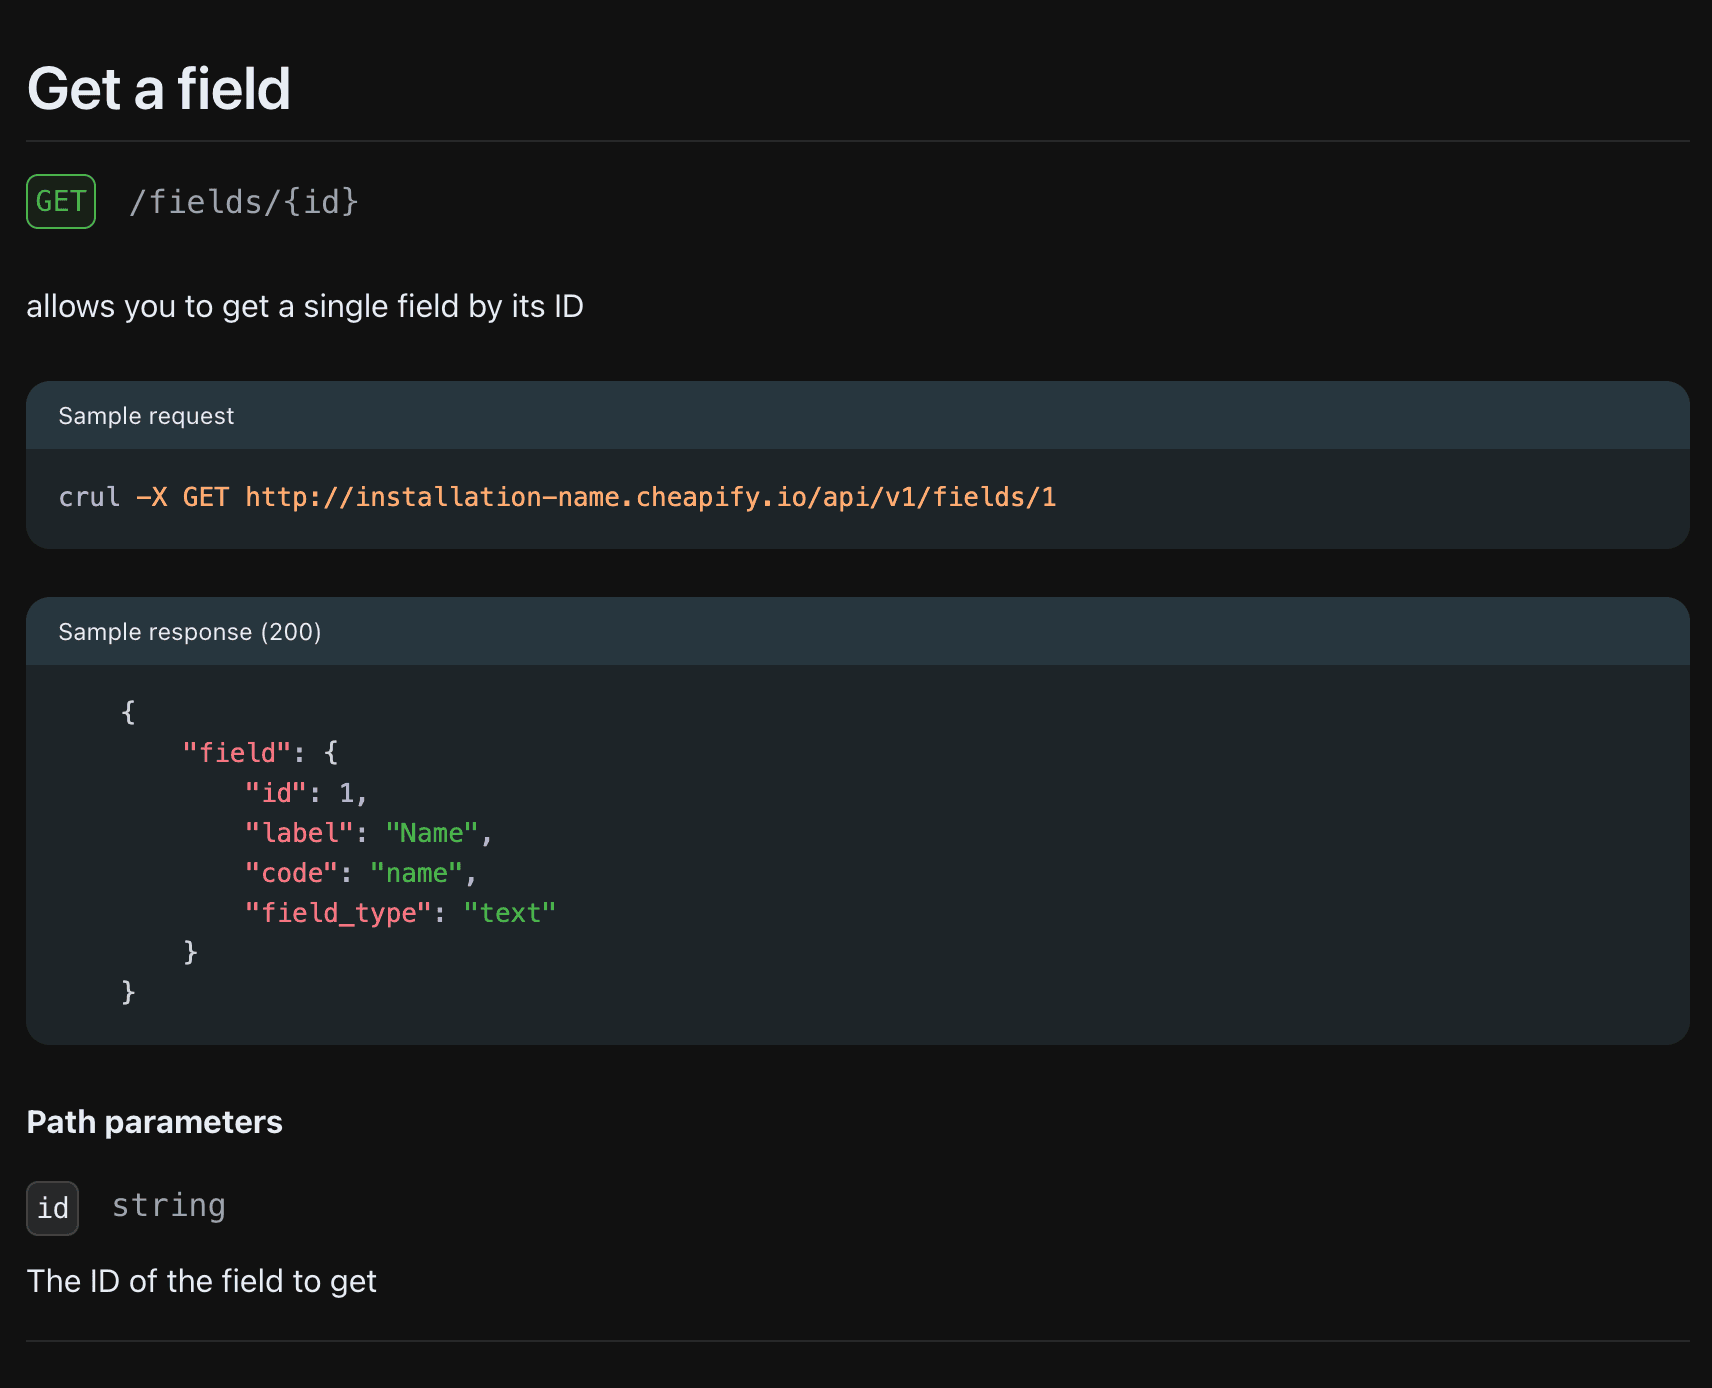
The content enclosed within % signs is replaced during script execution with components designed to render each portion of the specification. Below is an example of how %paths["/fields/{id}"]["get"]% might appear once rendered:

Given that front-end development isn't my forte, creating accessible, user-friendly documentation requires a significant investment of time and effort. Consequently, I've opted to leverage a pre-existing theme from Nextra for the time being. I highly recommend it due to its ease of use and customization capabilities. This approach generates the MDX pages, producing the necessary HTML/CSS/JS files, which are subsequently deployed onto a CloudFront distribution.
Streamlined CI/CD Pipeline
Given that this is still the early phase of the project, I could have skipped a major portion of the deployment automation. However, I proceeded with it mainly because I find it enjoyable, but also with the intention of enabling my friends to contribute effortlessly and witness their modifications in real-time.
Nonetheless, I've maintained a relatively straightforward approach. I'm utilizing AWS CodeCommit for version control, coupled with CodeBuild and CodePipeline for generating Docker images and publishing them to ECR. Subsequently, I launch tasks/containers with the updated images in ECS, bringing the changes into effect. Currently, there aren't any elaborate staging/production environments, although their integration is relatively straightforward. Moreover, I find the manual process of navigating through dashboards and configuring settings rather repetitive. Consequently, I aim to automate these tasks using Terraform in the future.
Conclusion
To sum up, I've really enjoyed working on this project. I believe the overall architecture, while not flawless, is rather decent and I'm confident it will be capable of scaling. However, there's still plenty of work ahead. I need to finalize the API specification, refine the documentation, create a TypeScript client library to facilitate seamless consumption, and optimize Redis usage for caching to maintain cost-effectiveness. Nevertheless, I have hopes of releasing version 1 of Cheapify in the near future. My strategy involves initially making it accessible to my friend who operates the agency, addressing any issues they encounter, and subsequently launching an open beta for the public.
Final Thoughts
It is very likely that during testing and benchmarking, maybe I will find out that the pricing model for the service won't work. Perhaps it will cost more than a handful of euros per site, in which case there are other products better suited for this purpose. It might not gain enough traction, making it costly to maintain and operate. Regardless of the eventual outcome, I am satisfied knowing that I've learned a lot of new things from this project and I've genuinely had a great time.